
The ADCS Certification Authority Web Service is a method to distribute certificates via a https site called Certsrv. This is a handy method to distribute certificates outside of the domain. To test this I am going to install the service and use it to distribute the TLS certificate for the IIS server that is hosting Certsrv (DC01.hwah.us).
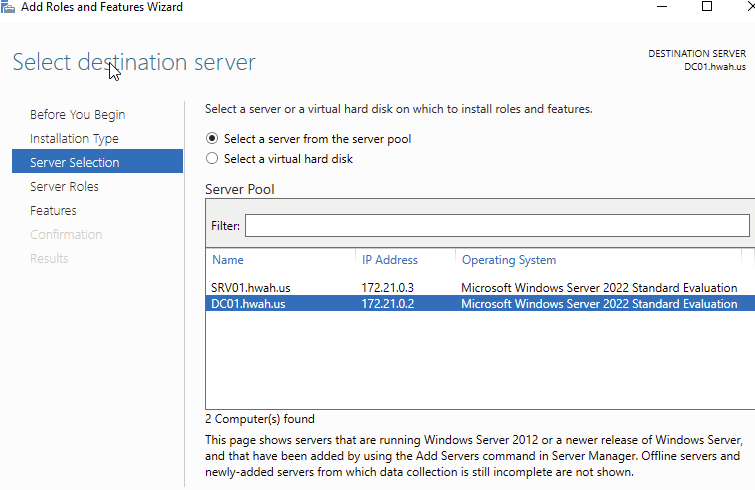
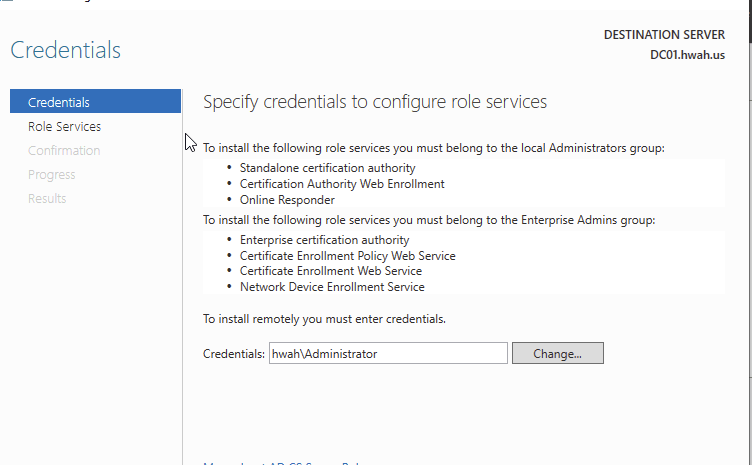
First I selected the destination server, in this case it is the DC01.hwah.us machine, the same one containing the Certificate Authority.
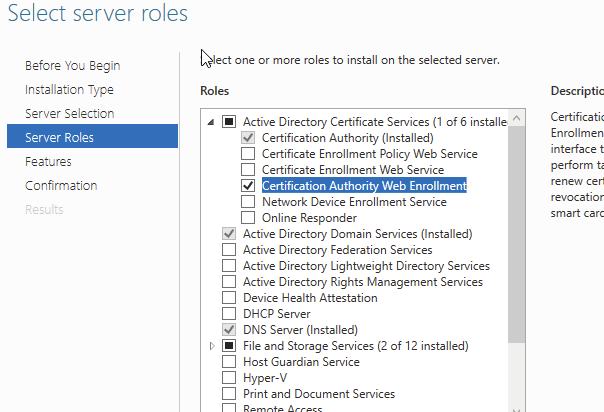
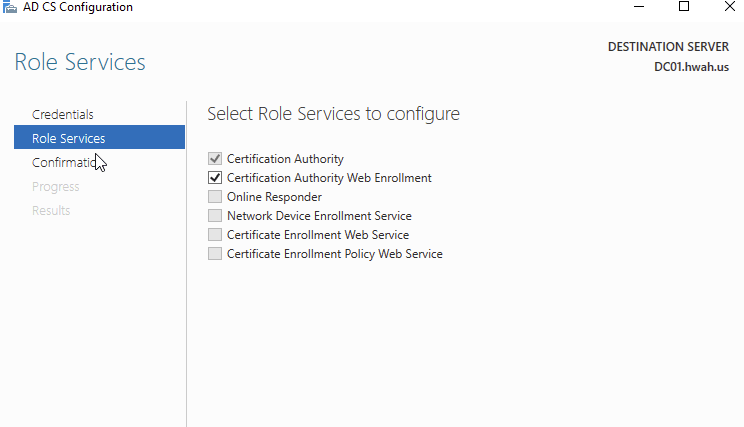
Next, I selected Certification Authority Web Enrollment. Notice that there are other similarly named services in the list. The Certificate Enrollment Policy and Web Enrollment services are a more complicated install ( I learned this the hard way!) that essentially can offer policies for certificate distribution in an automated fashion for non-domain joined hosts/users. This is very similar to the auto-enroll feature with group policy, but its reach can extend out of the forest. For now I will keep it simple and install CertSrv.
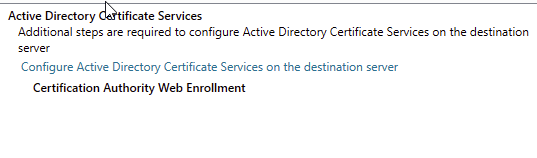
Click through and accept the defaults, more configuration will be needed after the service is installed.
For the next step I added the credentials for a Domain Admin.
Select the Certification Authority Web Enrollment
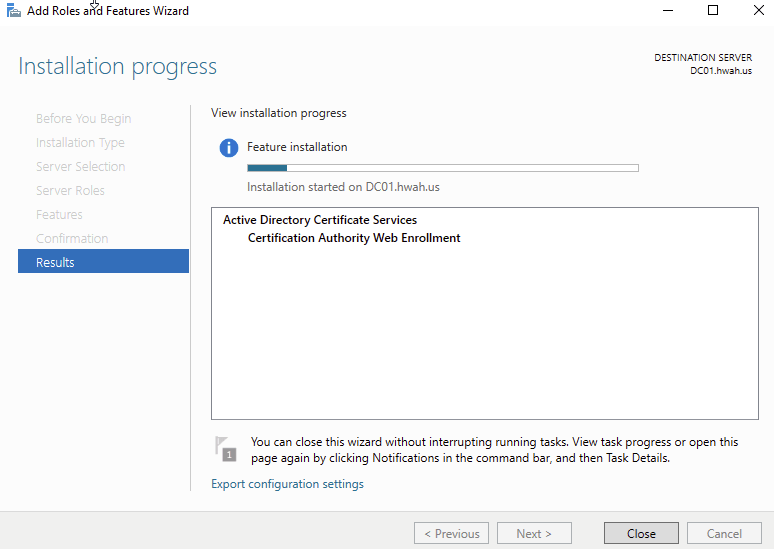
This service installed Microsoft’s Internet Information Service (IIS) Webserver to host Certsrv. For this to work we will need to issue a TLS certificate.
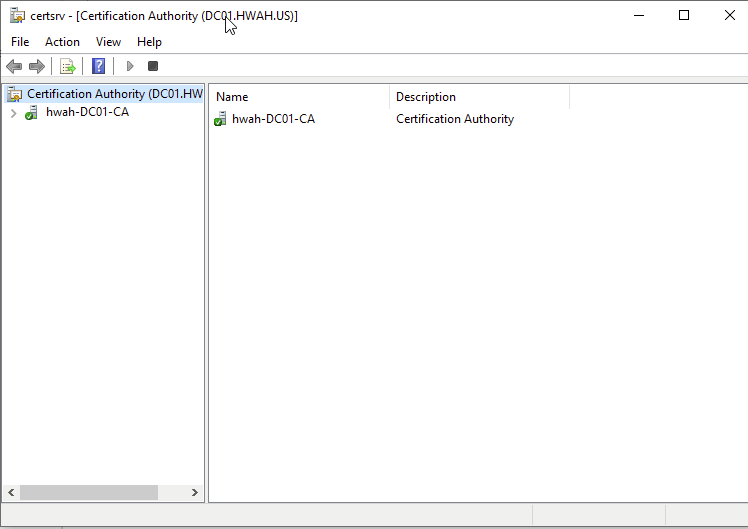
Opening the Certificate Authority snap-in, I selected the CA.
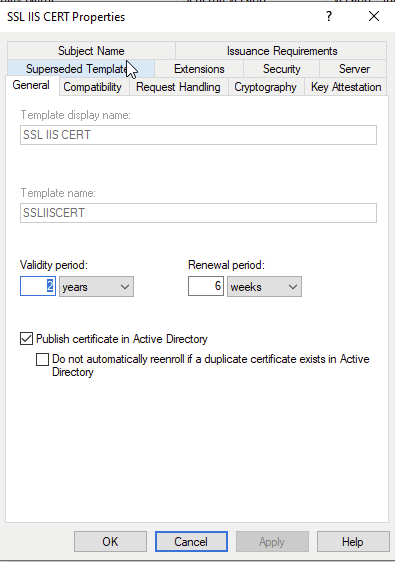
To create a new template, I duplicated an existing template namely the “Web Server” template. These templates can be accessed by right-clicking “Certificate Templates” then selecting “Manage”. Right click the Web Server template to duplicate.

In the general tab, I named the certificate and set the “Publish certificate in active directory” so we can assign a policy for auto enrollment.
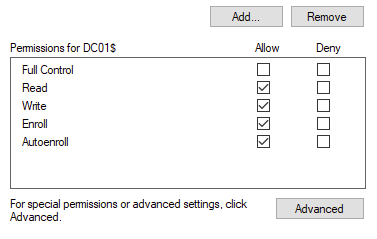
In Security, I set the machine account to “Read”, “Enroll” and “AutoEnroll”, notice that the machine account has a $ after the Common Name.
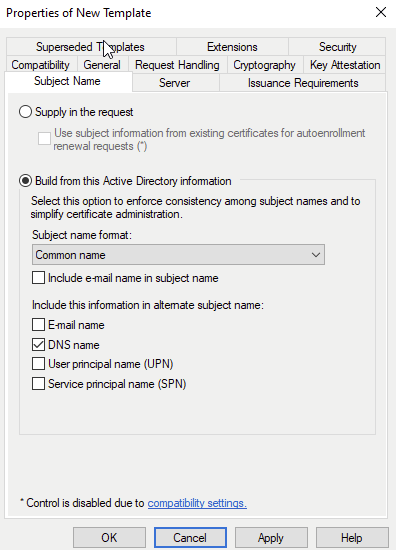
For subject name we have to make sure this matches the domain name of the webserver. Since I am using the hostname as the domain name, I selected Common Name as the first subject, with DNS name as the Alternate Subject Name.
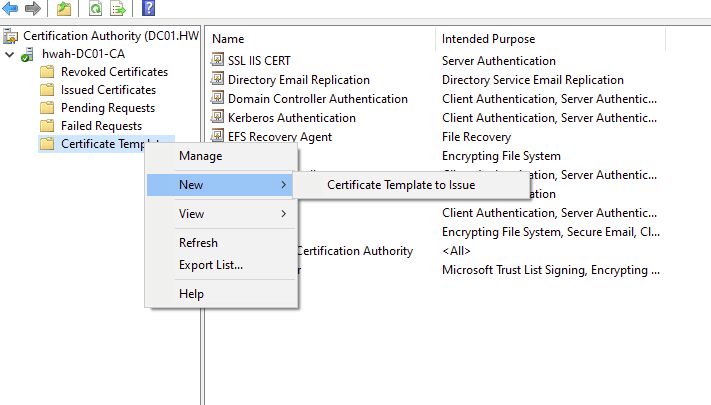
After filling this out, I issued the template by right clicking Certificate Templates, then selecting New and “Certificate Template to Issue”
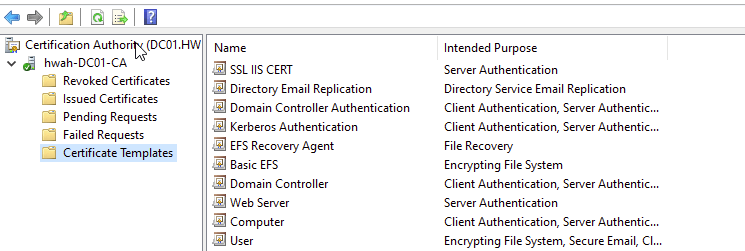
This adds the new cert to our templates list.
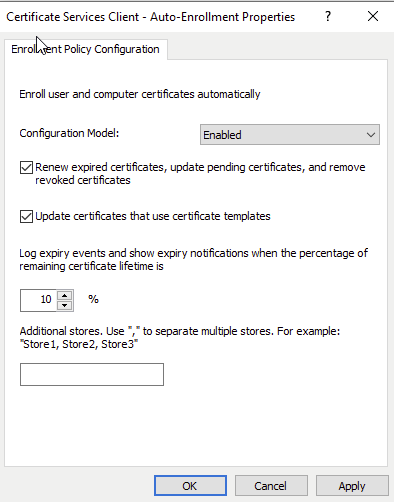
I then created a Group Policy Object linked to the domain that Enabled the autoenrollment. It is located in:
Computer Configuration/Polices/Windows Settings/Security Settings/ Public Key Policies / Certificate Services Client – Auto-Enrollment
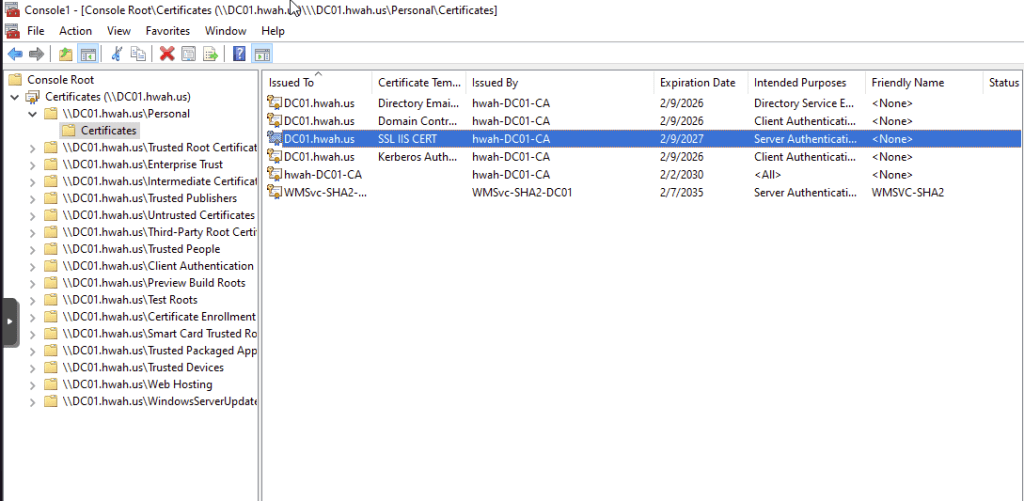
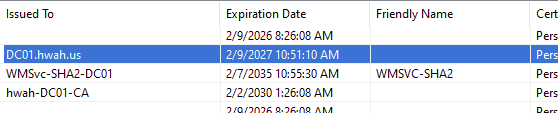
Then running gpupdate /force to update group policy, I checked the Personal certificate store of the DC01$ machine and the Web Server certificate has been distributed.
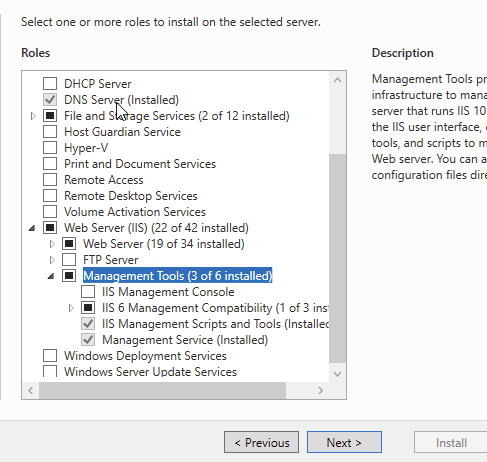
The default certificate used by the IIS server can be set in IIS Manager by setting the bindings for port 443. Since our DC is running Server Core, there is no GUI to open IIS manager, therefore I installed the IIS Management Service to manage via RSAT.
The service needed to be started and enabled on DC01 which can be done with the commands:
Start-Service WMSvc
Set-Service -Name WMSvc -StartType Automatic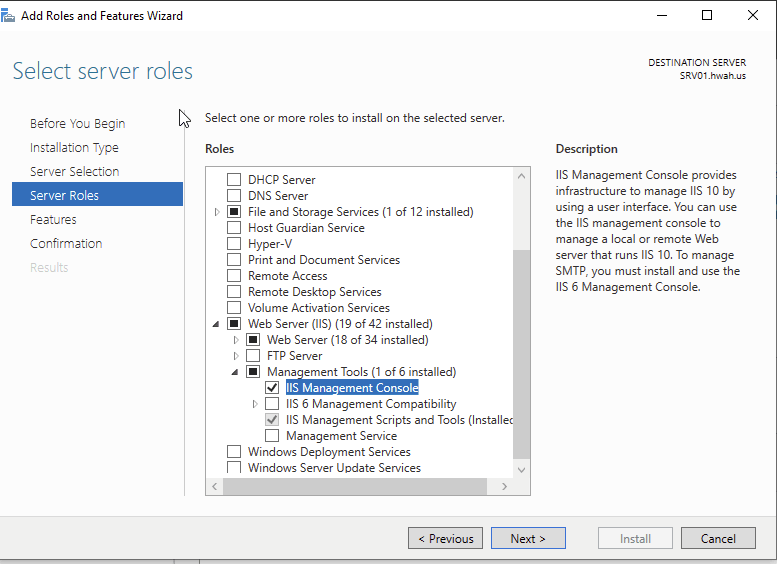
I still could not access IIS manager through Windows 10 or Server Manager, but a little research led me to a key registry change that allowed this.
Set-ItemProperty -Path HKLM:\Software\Microsoft\WebManagement\Server -Name EnableRemoteManagement -Value 1Next, edit the binding for port 443 on the “Default Web Site” and this give the option to add a SSL Certificate.

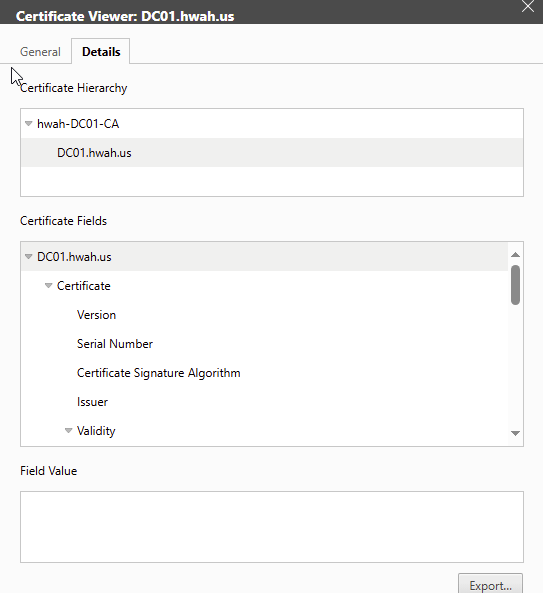
When selecting the certificate make sure to pick the one that matches the template we created previously (Now I see why the “friendly name” should have been set). As shown below the certificate follows the DNS name as we specified, this is important as browsers will give errors if the hostname and DNS name of the certificate do not match.
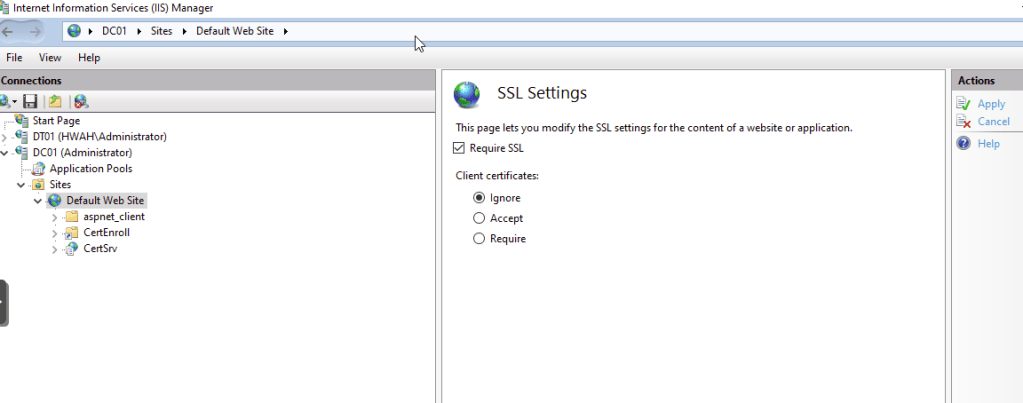
Also in SSL Settings for the Default Web Site I required SSL, ignoring client certificates as we will be using the server template we issued via Group Policy.
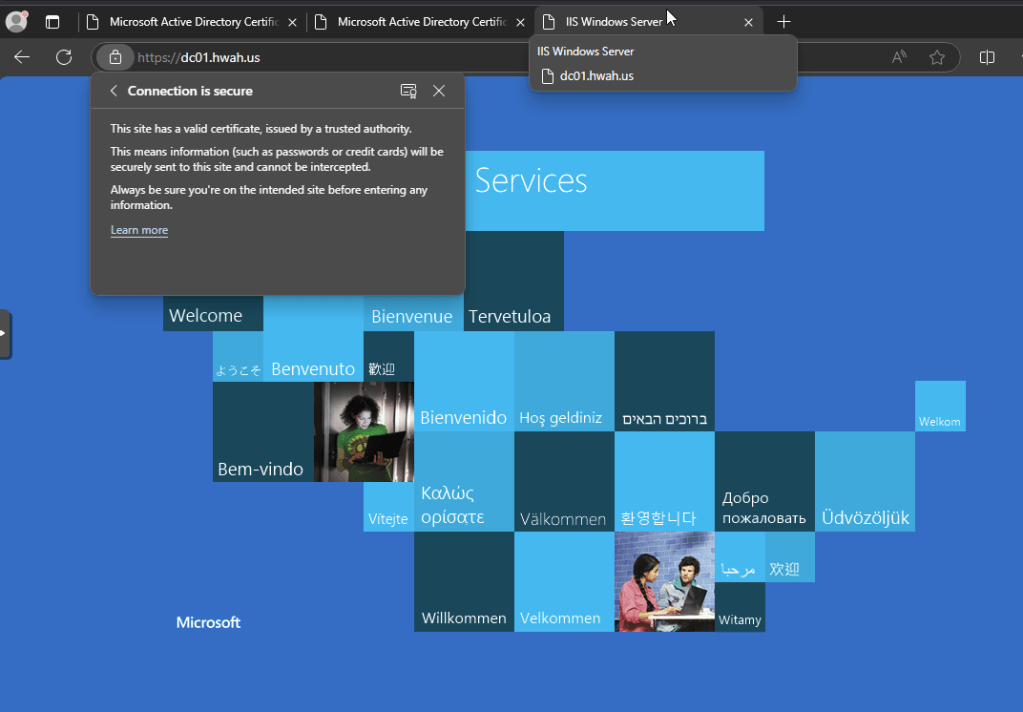
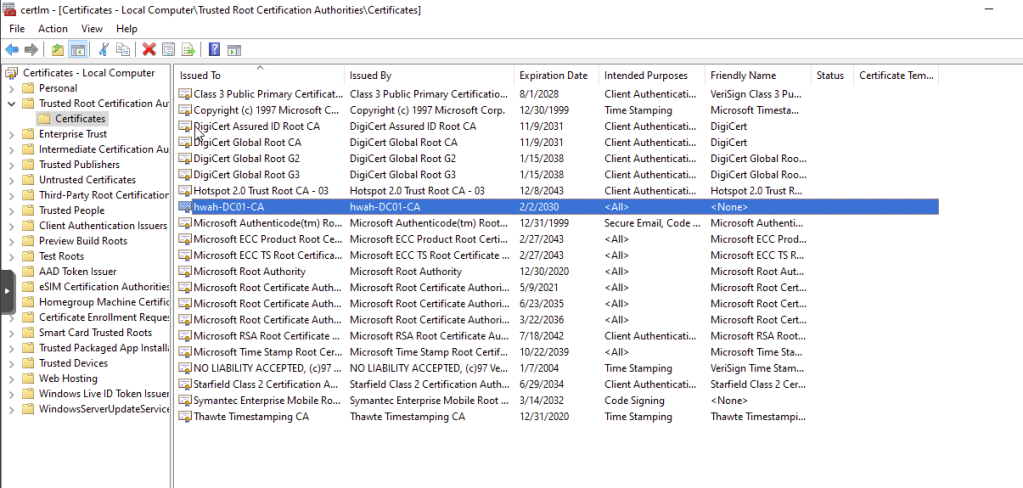
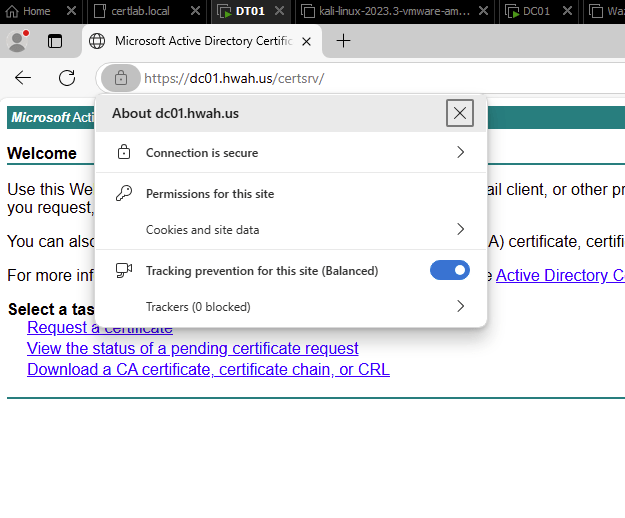
Browsing to the site we can see that the site is trusted. This happened seamlessly in Active Directory because the domain CA certificate is distributed automatically on group policy updates for domain computers, inserted into the Trusted Root Certificate Authorities Store.
The CA certificate service site can be accessed at https://dc01.hwah.us. To test its functionality I will attempt to access and download the CA cert manually from a host in a different domain (certlab.local in my “Distributed” lab).
Since we do not have DNS resolution to the hwah.us domain from certlab.local yet, I will access the site via IP Address.
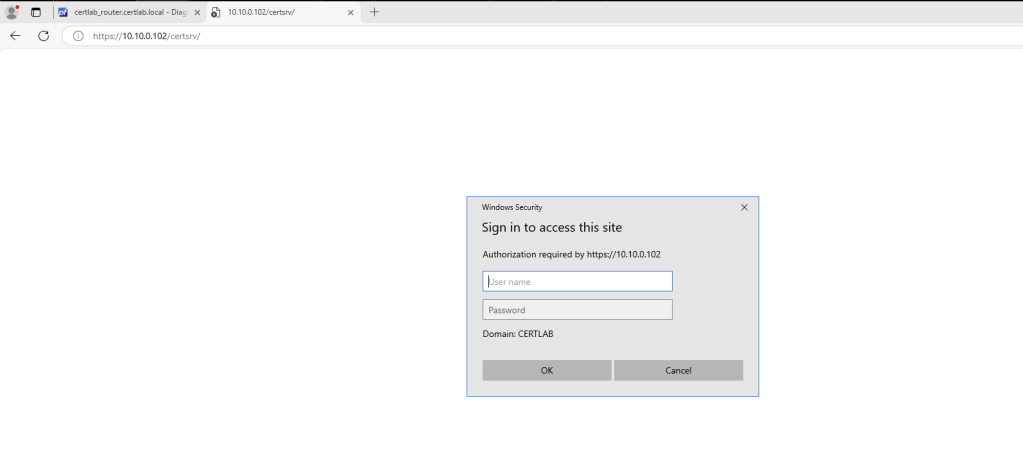
This is requesting a domain credential for the hwah.us domain, once entered we have access to the certsrv site.
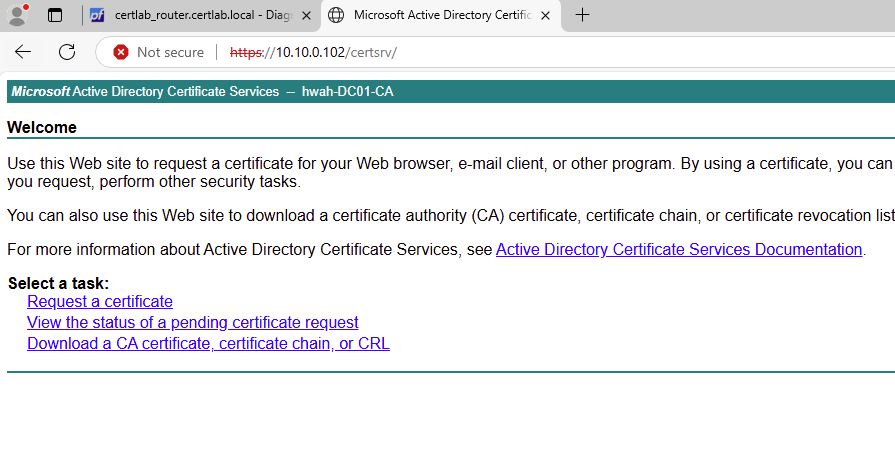
As shown in the screenshot above, I received a browser error and had to accept the insecure connection. Since we need this page to retrieve and install the CA cert, we will have to accept this. The server cert is encrypting traffic however our non domain joined machine does not trust the CA yet. To get the CA cert, I select “Request a certificate” and from there “Install CA certificate”
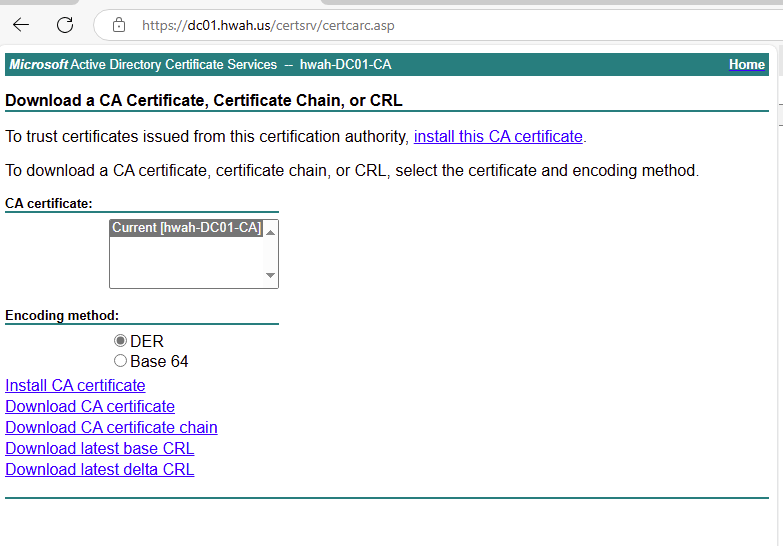
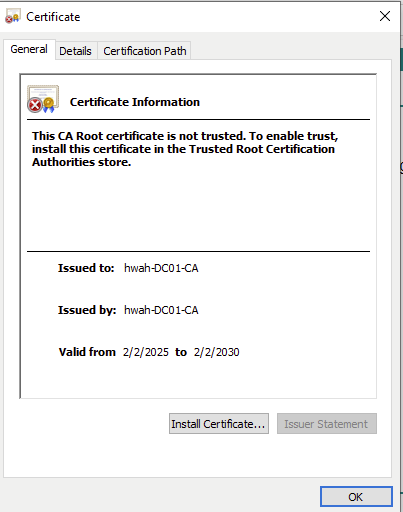
Clicking on the downloaded .cer file it informs us that the CA root certificate is not trusted, however we are given the option to install the new certificate. In practice, it would be wise to automate this installation using Web Policy Enrollment as mentioned earlier, restricting this action to Administrators only, or distributing the manually downloaded certificate via Group Policy.
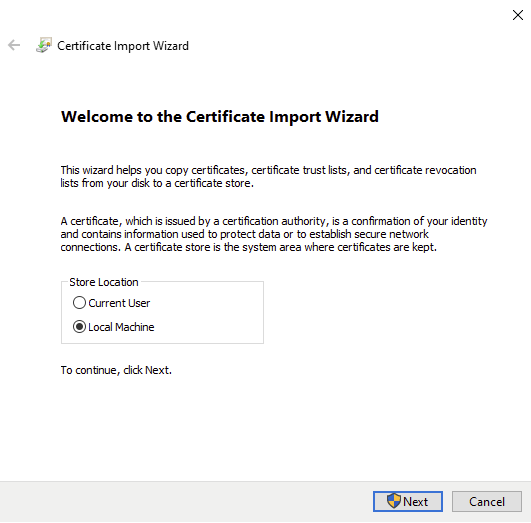
On the next screen, I chose to install this to the local machine so any user can trust this CA.
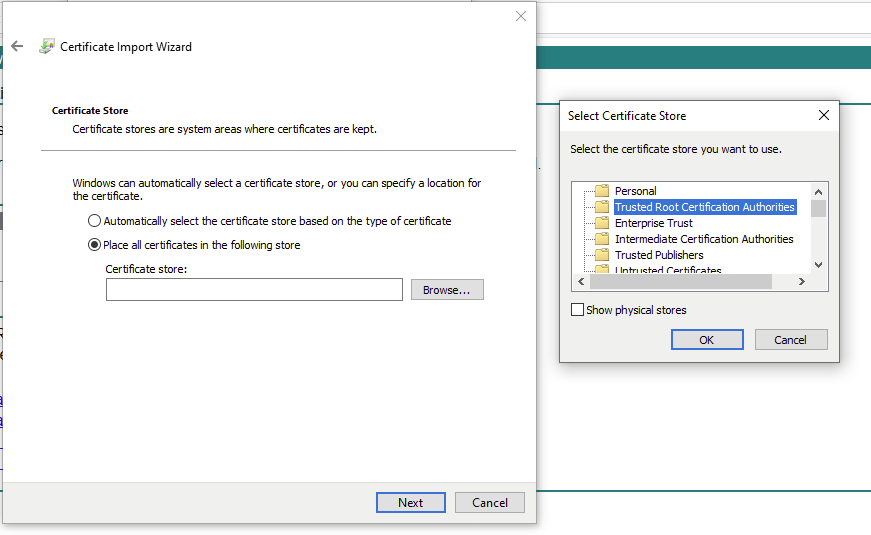
To ensure that the certificate is placed in the proper store, I selected “Place all certificates in the following store” and selected “Trusted Root Authorities”
Even with this we will still receive a browser error upon launching the site. This is because the “Common Name” on the certificate does not match what is entered into the browser (the IP address). As DNS is not yet linked between domains, a workaround is to add the “dc01.hwah.us” entry to the hosts file at C:\Windows\System32\drivers\etc\hosts.
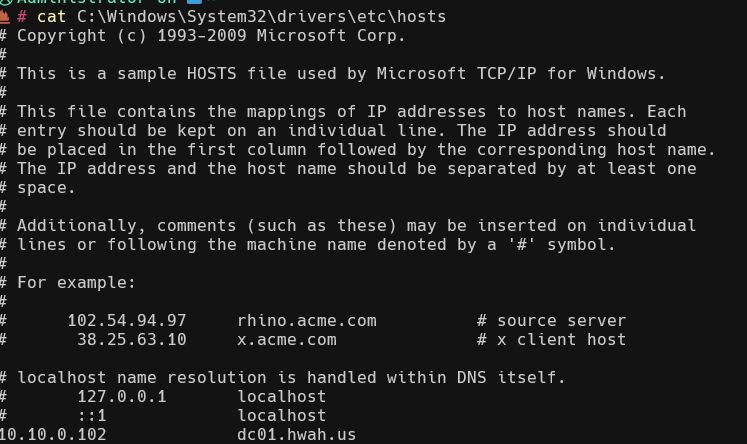
Once this is done navigating to the site via the FQDN removes the errors.
Takeaways:
Installing CA Web Service was a simple way to distribute certificates to computers outside the domain using Windows Authentication. I learned that using this requires DNS resolution, which can probably be best addressed with a domain trust or at the very least using a conditional forwarder to use DNS is the remote domain. From a security perspective, several parts of this practice could be fine-tuned. The process of temporarily accepting the non-trusted CA is potentially dangerous to allow users to configure themselves and should be restricted to Administrators. Administrators could compare the thumbprints on the CA certificates to ensure that they are installing the correct certificate. Also, using automated methods to download, verify and install the certificates is preferred. Finally, using the Domain Administrator account to logon to the site is extremely dangerous especially when done from another domain! .
